

Organization is important. Especially in online school, because if you aren’t organized when doing online school, your room is a mess (or wherever it is you work). That’s never fun.
And notes are perhaps the most important thing to organize. If you don’t organize your notes, you not only have a bunch of pieces of papers strewn about, but you also have no idea where anything is! That makes it nearly impossible to relearn something from your notes.
But don’t worry, by the end of this post, you’ll have a solid plan for how to organize your notes and be well on your way to a clear, organized working space.
Organizing Old Notes
When it comes to organizing your old notes, there are a few different ways to do this–and it depends on the form your notes take. For instance, if your notes are just single pieces of paper, you’re going to handle it differently than if all your notes are stored in a notebook. Let’s look at how we can organize them all.
For Single-Paper Notes
When you just have single pieces of papers as your notes, there are a few different things you can do to organize them:
- You can scan them all and organize them online.
- You can put them in a folder with a table of contents for navigation.
- You can get rid of them all (the nuclear option).
Let’s look at each of these in depth.
1. Scan and Organize Your Notes Online
If you’ve got cloud storage like Google Drive–and, let’s be honest, who doesn’t these days?–then you can just scan all your notes and put them in your cloud storage and organize them there. Or you can store them on your phone or PC. Cloud storage just makes it easier because you can access them from anywhere.
When it comes to scanning them, you can just use an app on your phone. I like Genius Scan, but there are a lot of solid scanning apps out there.
When it comes to scanning your notes, you can scan them as individual pages or as one big file. There are benefits and downsides to each.
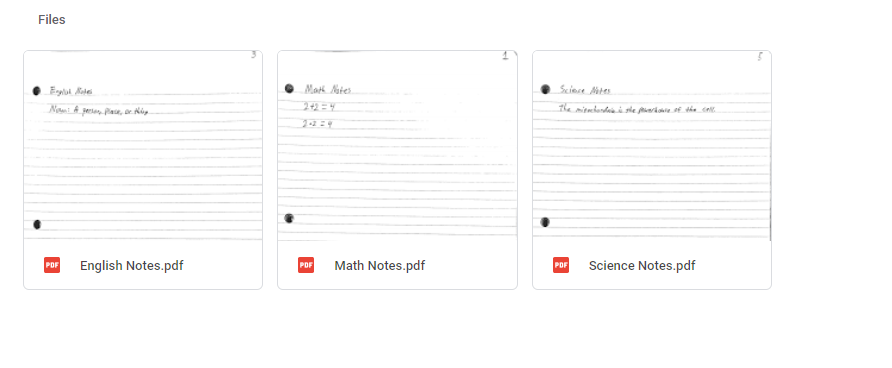
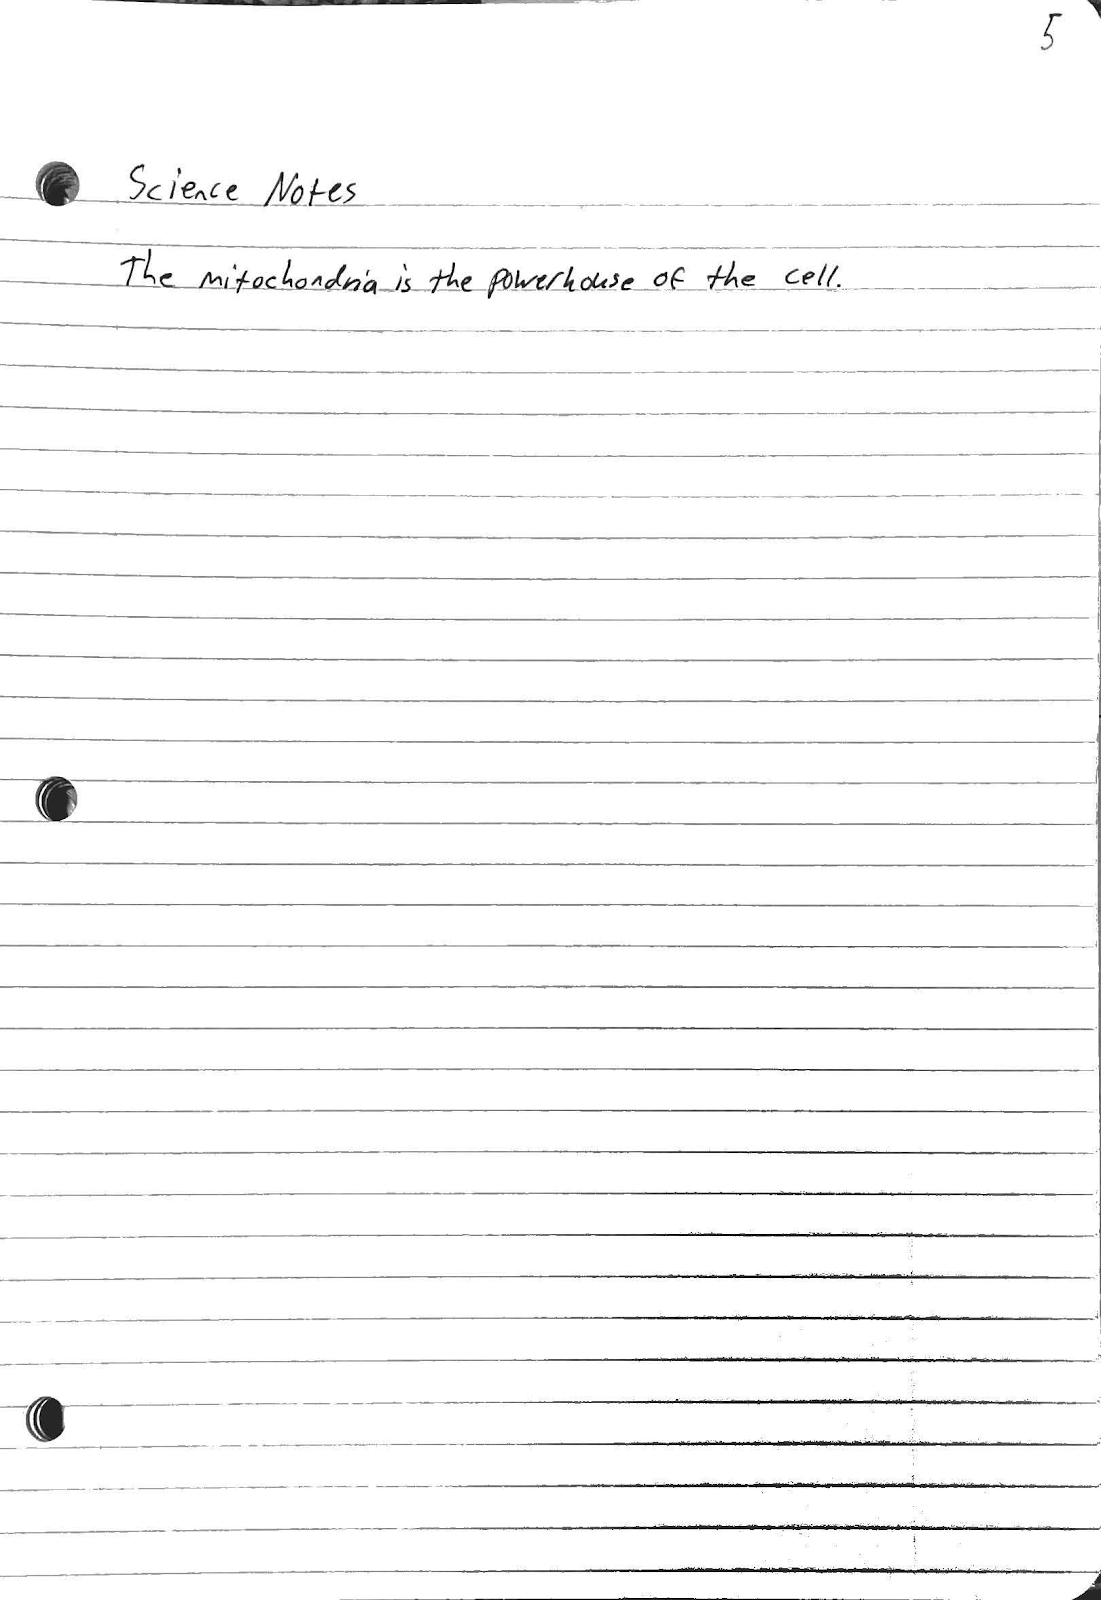
Individually
If you’re going to scan them individually, then you can more easily label each note as it corresponds with the subject you’re learning. It makes it easier to use the search feature in your cloud storage to find the notes you’re looking for. It also makes it easier to replace individual pages if you make changes to the physical notes and want to update their virtual counterparts.
The downsides to this method is that it takes more work upfront. You have to go through and name each file, rather than just scanning the whole thing in a single batch and naming it once.
Here’s an example of this method:
One Big File
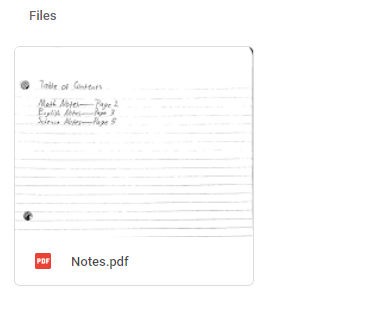
If you’re going to scan them all into one big file, I’d suggest writing a table of contents for your file. That way, when you open it, you have a table of contents that can direct you to the note you’re looking for. It’s also less work, since you just have to scan them and name the file once.
The downside to this method is that if you make a change to one of your physical notes, it’s a lot harder to edit the file and swap out that individual page that you changed. This is easier if you have the right app, but it’s still less work with individual files.
Another downside is that you can’t easily search up what you’re looking for because you don’t have each note a different file with a corresponding name. Some things can scan documents and let you use the search feature to find things in the documents, but don’t count on it for handwritten notes.
Here’s an example of this method:

Either way can work, it’s just up to you how you want to do it.
After you have them all organized in your cloud storage, you can then get rid of the paper versions or keep them. Up to you, but I’d imagine you’d want to clear up some space, so getting rid of them would be the way to go.
2. Put Your Notes in a Folder
If you want to keep all of your notes in their physical paper forms, then you’re going to want to organize them in a folder or a ring binder.
To help you organize them easier, try this:
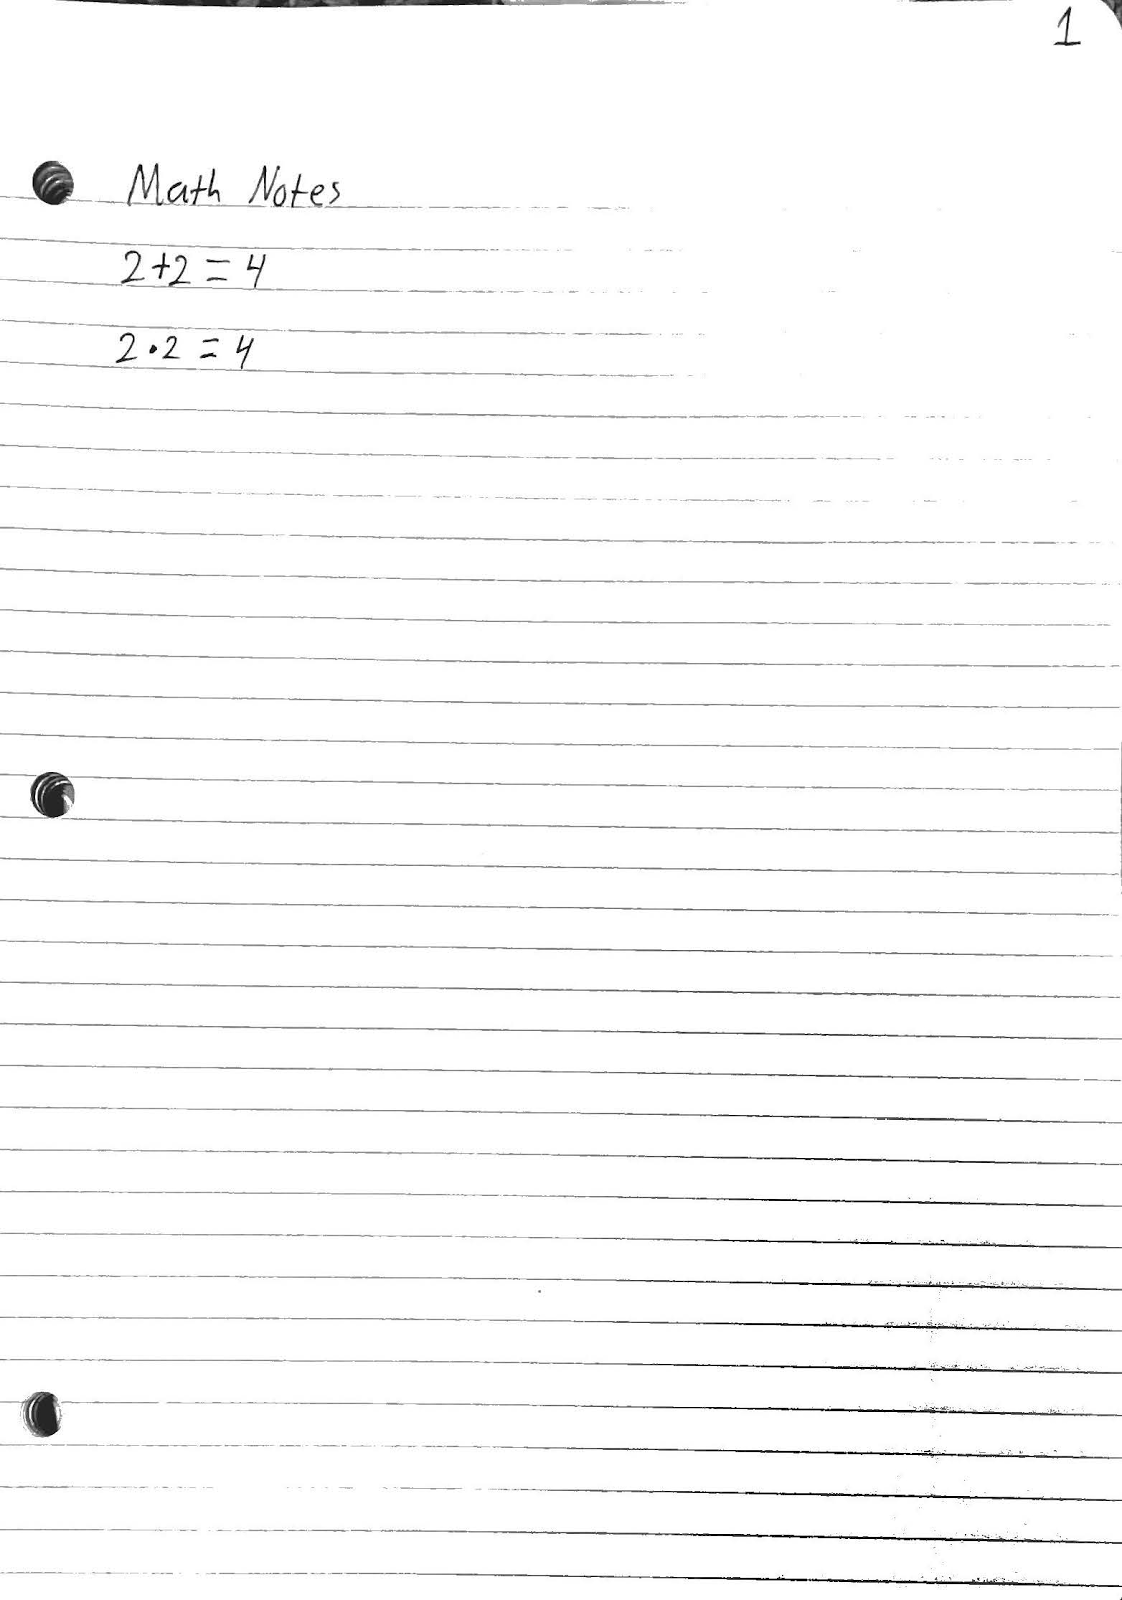
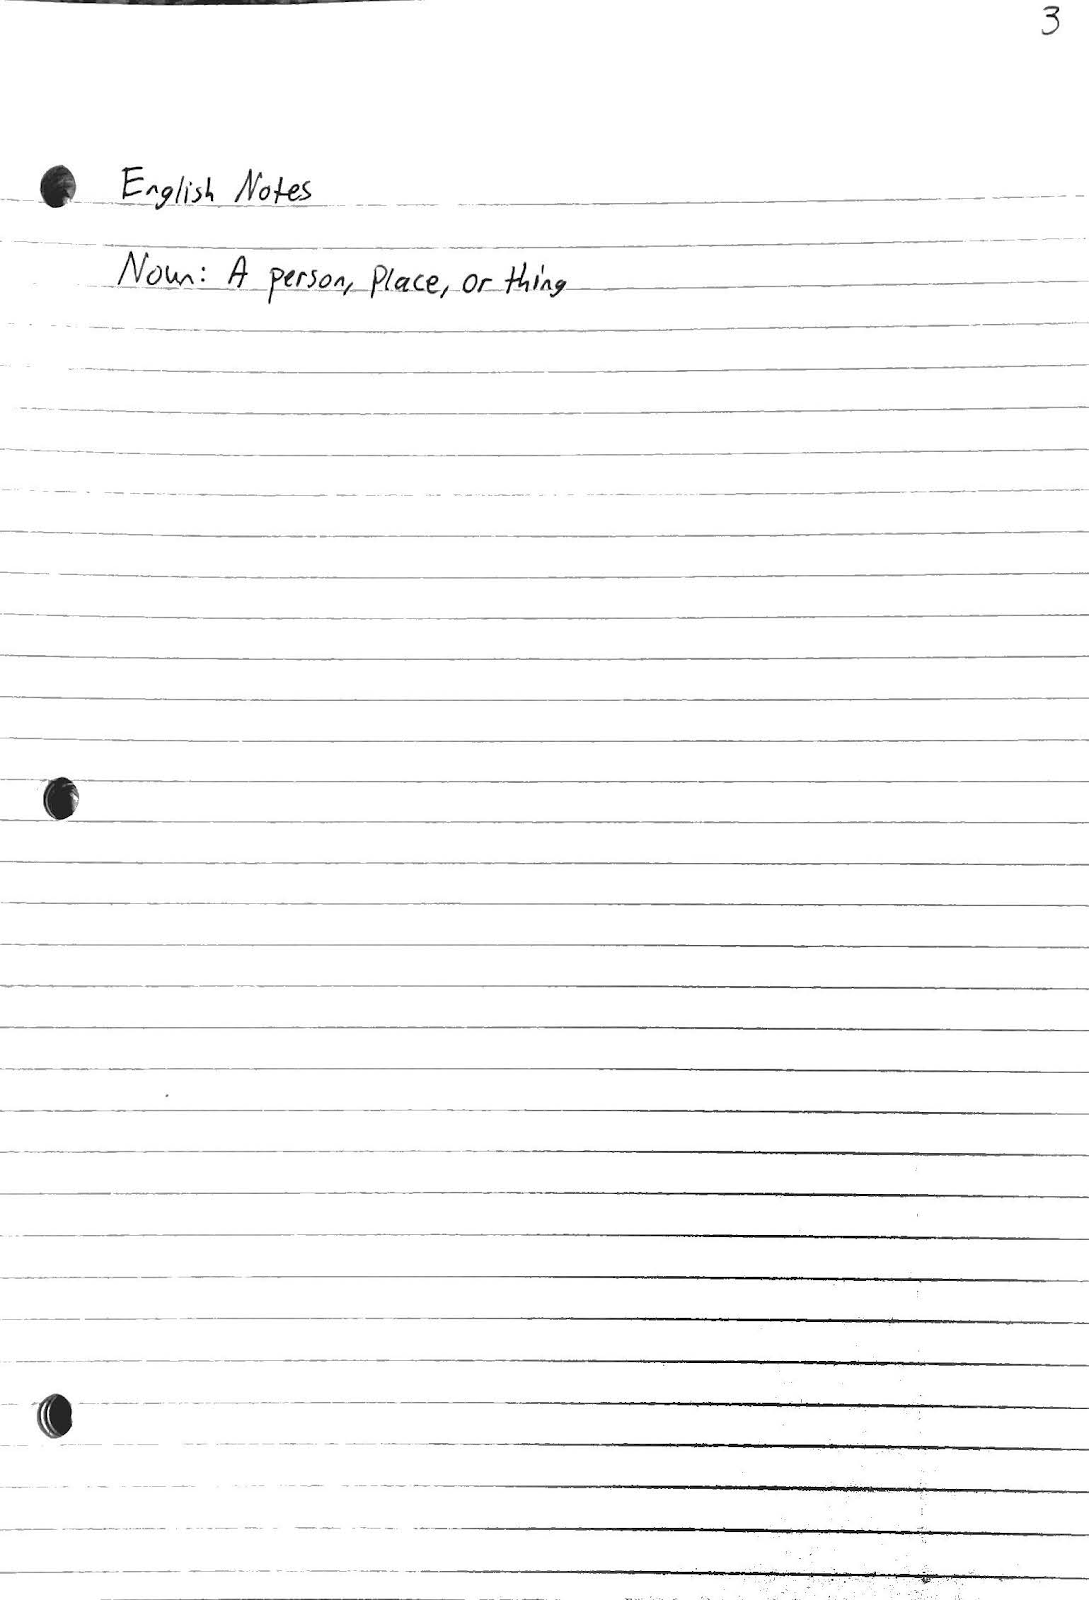
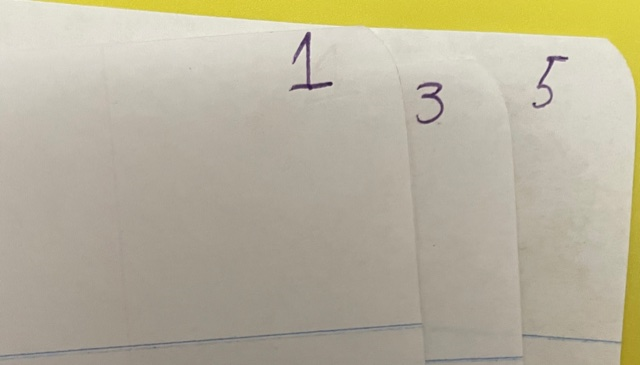
1. Put numbers on all the notes, like this:
2. Create a table of contents paper. On your table of contents paper… well, create a table of contents. Put the names of each note–the subject(s) that are on the note–and each note’s page number on your table of contents.

3. Then, organize all your notes in numerical order and put them in your folder or binder. Make sure to keep the table of contents paper first.
4. If you have notes that you don’t want, then get rid of them.
5. You’re done! Anytime you need to find a note, consult your table of contents paper, then flip to the number on that note. You’ve essentially created a book out of your notes. Nice and organized.
3. Get Rid of Your Notes
If you have notes that you don’t know why you have and will probably never use again, or if you just want to start over with your notes, then get rid of them all. Throw them in the recycling, burn them, whatever. Just wipe the slate clean.
This is the nuclear option of the bunch.
Ideally, you’d be able to keep the notes that are useful and get rid of the ones that aren’t, but if you just want to clear it all out, then this one’s for you.
For Notebooks
If you’ve got notebooks for your notes, rather than single pieces of paper, then organizing them will be way easier. Once again, you’ve got three main options:
- Scan and organize them online.
- Organize the notebooks themselves.
- Get rid of them.
Let’s look at each of these in depth.
1. Scan and Organize Your Notebooks Online
This one works exactly as it does with single-page notes. You can scan them individually and label each file as the subject that each note covers, or you can create a table of contents and scan it all as one big file. It’s up to you.
Scroll up to the earlier part of this article about doing this with single-paper notes to see examples. They’ll apply here with notebooks, too.
2. Organize Your Notebooks
If you’d rather organize your notebooks, then this will also work fairly similarly to organizing single-paper notes. Just number each page in your notebook, then create a table of contents and put the corresponding subjects and pages together in the table of contents. It’ll work the exact same as above, you’ve just got a notebook now.
If you have room, but don’t have headings for your notes, go ahead and create them. It’ll make it easier if you’re just skimming through your notes, rather than going to your table of contents. Try to make your notes organized like a book.
3. Get Rid of Them
If you no longer have a use for your notebooks, they suck and you want to redo them, or otherwise want to get rid of your notes, then do exactly that: Get rid of them.
Just go throw them in the recycling or use them to start fires (if you live in a cold place and can do that). You don’t have to keep your notes.
I would suggest that you get rid of any notes that aren’t going to serve a purpose. If you won’t use them again or if they aren’t very good, get rid of them.
Organizing New Notes
When you start creating new notes, here are a few things you can do:
For Single-Paper Notes
When you start to organize your new single-paper notes, then you can either scan them and organize them in your cloud storage or computer, or you can number them and put them on a table of contents. It’s essentially the same thing you did with your old notes, only these notes are new.
If you decide to organize them physically in a folder or binder and run out of room on your table of contents paper, just create another one.
If you decide to go for the scanning method, trust me when I say it’ll be easier to scan the notes as soon as you’re done creating them. If you wait and let them stack up, you’re going to have a mess on your hands. Just scan them as individual files and label the files corresponding to the notes in them.
For Notebooks
Once again, pretty much the same things apply for notebooks as they do for single-paper notes.
If you have a fresh notebook that you’re using for notes, make sure to keep the first one or two pages blank so you can create a table of contents on them. Another thing that helps is numbering the pages up front.

As soon as you finish one of your notes, go back to the table of contents and put the new note heading on it.
If you want to scan them, I’d once again suggest scanning them individually as soon as you finish the notes. Then, just name the file whatever the note inside is. It’ll be a lot easier than letting it stack up.
That’s it! You’ve now got nice, organized notes that you can go back through easily anytime. And, you’ve now got a methodology down for organizing any of your future notes.


